|
Installation Instructions:
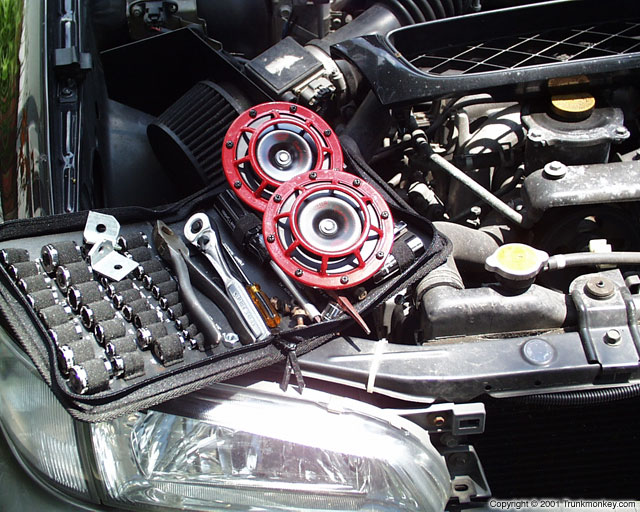
- Prop open the bonnet using the bracket on top of the passenger side strut tower. This will get the bonnet up to vertical and give you more room to work.
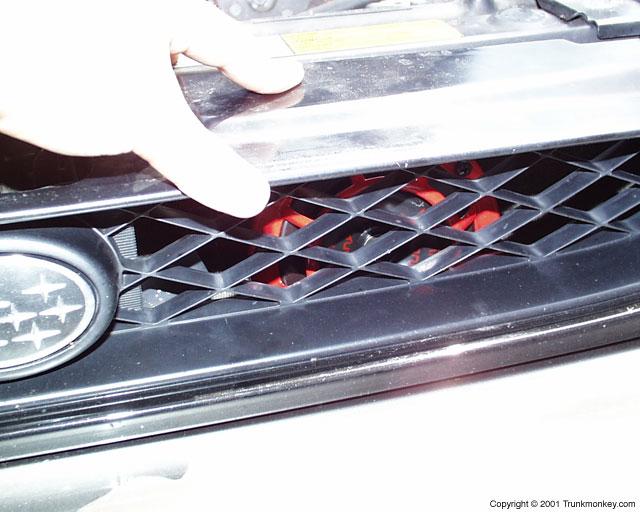
- Use a long flathead screwdriver to remove the grill.
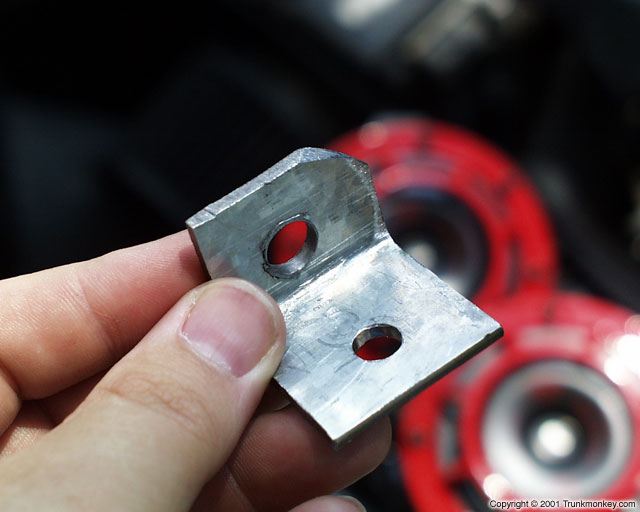
- Place the angle iron in a vice and cut two 1" wide sections using a sawzall or hacksaw.
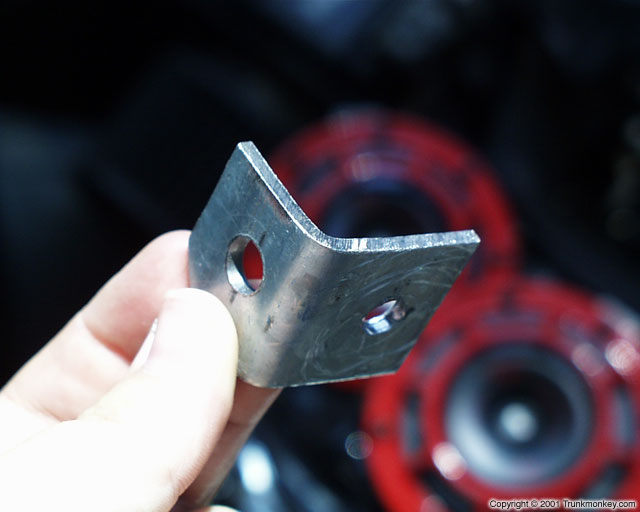
- Reposition each of the 1" wide pieces of angle iron and drill a hole in each surface. Make sure that the holes are positioned so that, when the bolts pass through the holes, the bolts do not touch and there is still enough room to fit a nut over the end of the bolt. Also, use the shortest bolt possible so there is enough room. You may need to cut multiple angle iron brackets and use trial and error to find a good location for the hole and a suitable bolt length.
- Use a metal file to file off as much material as possible from the edges of the angle iron bracket. The more round the edges are the easier it will be to install. Leave enough material for the nut to get a good purchase.
- Use the shortest possible bolt, nut and lock washer combination to attach the angle iron bracket to the horn disc mount. Use a lock washer on the bolt side.
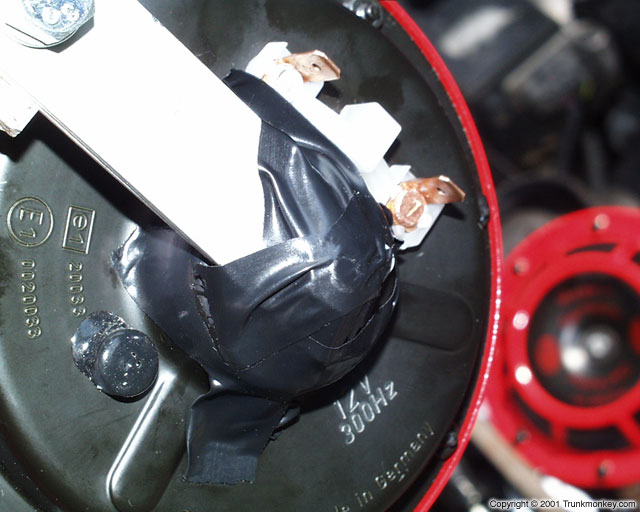
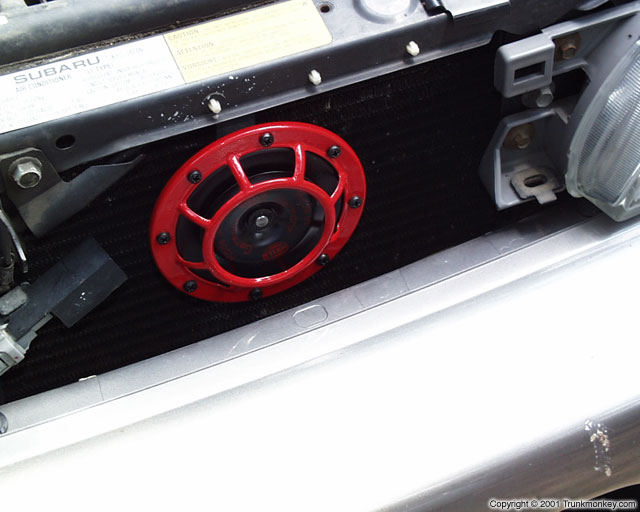
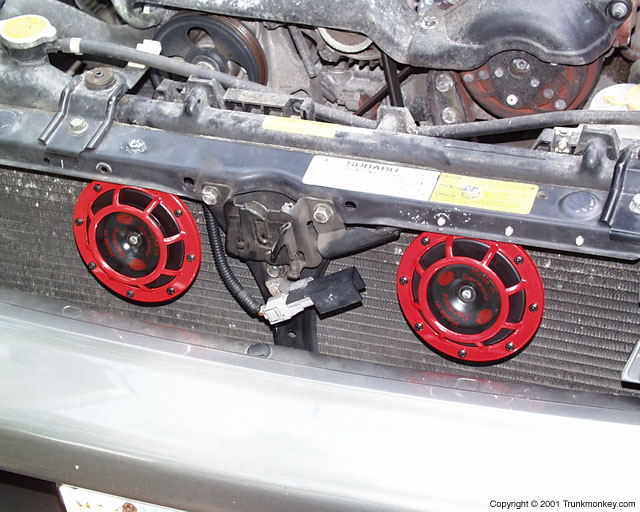
- Cover the nut on the back of the horn disc with dielectric grease and then wrap electrical tape or non-conductive duct tape around the nut. The dielectric grease will reduce corrosion and the tape will protect the radiator fins.
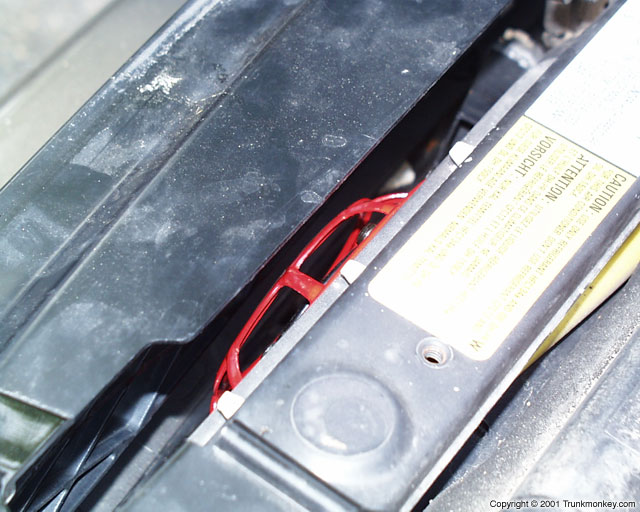
- Test fit the angle iron bracket on the bottom of the upper tie bar and slide from side to side for the best position. There should be a lip on the bottom of the upper tie bar that you can hang the angle iron bracket from so the horn discs hang loosely in place.
- If the test fit is too tight, use vice grips to bend the horn disc mount until the top of the angle iron bracket is flush with the bottom of the upper tie bar. Basically, you want to eliminate the springiness so the back of the horn disc doesn't press against the radiator with too much force.
- Keep test fitting and re-bending the horn disc mount until a good mounting position has been found. Test fit the horn discs one final time and hang the angle iron bracket from the lip on the bottom of the upper tie bar.
- Loosely test fit the grill over the horn discs to make sure everything is all warm and fuzzy. Reposition horn discs as necessary.
- Remove the grill and use a Sharpie or pencil to mark the edges of the angle iron bracket.
- Remove the horn disc, flip it upside-down and place the top of the angle iron bracket on top of the upper tie bar lining it up with the edge marks. Mark the center of the hole; this is where the hole will be drilled.
- Note the position of the bonnet release cable that is ziptied to the bottom of the upper tie bar! Do not drill through the bonnet release cable or clay kitties will fall from the sky and mar your paint!
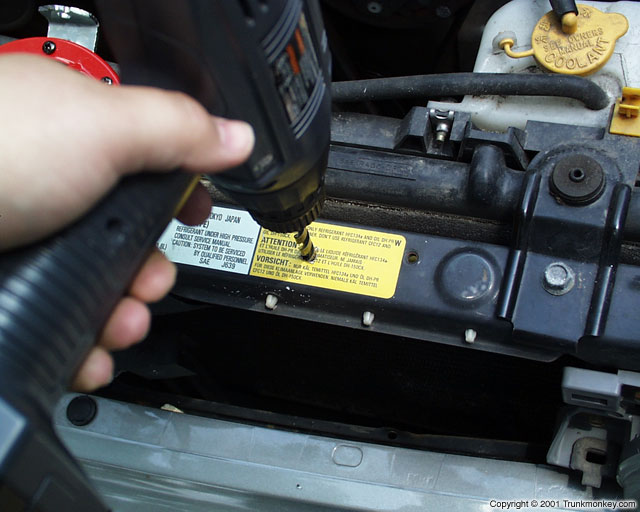
- Select the appropriate sized high speed drill bit and drill holes for the bolts. The upper tie bar is made of an extremely soft metal and simply pushing too hard while drilling (or using a low speed drill bit) will dimple the metal.
- Fit the horn discs back into place and slip the bolt down through the upper tie bar. If the bolt is short enough and there's enough clearance between the upper tie bar and the bonnet, slip the bolt in from the bottom of the angle iron bracket.
- Place the nut and optional lock washer on and finger spin into place. This is where little girlie girl fingers are extremely convenient.
- Loosely test fit the grill over the horn discs again just to make sure.
- Remove the grill and tighten down all bolts using a socket and hold the nuts in place with an open end wrench or adjustable wrench.
- Slightly bend down the spade terminals on the back of the horn disc to make room for the spade connectors and wiring. Coat the spade terminals liberally with dielectric grease to reduce corrosion.
- Optionally spray down the tops of the bolts on the upper tie bar with rustproofing spray.
- Wiring instructions aren't included in this document. Either follow the directions that came with the horn discs or fabricate a parallel wiring loom using the stock horn spade connectors. I'll write up a relay diagram once I install the horn discs in the rally car.
|