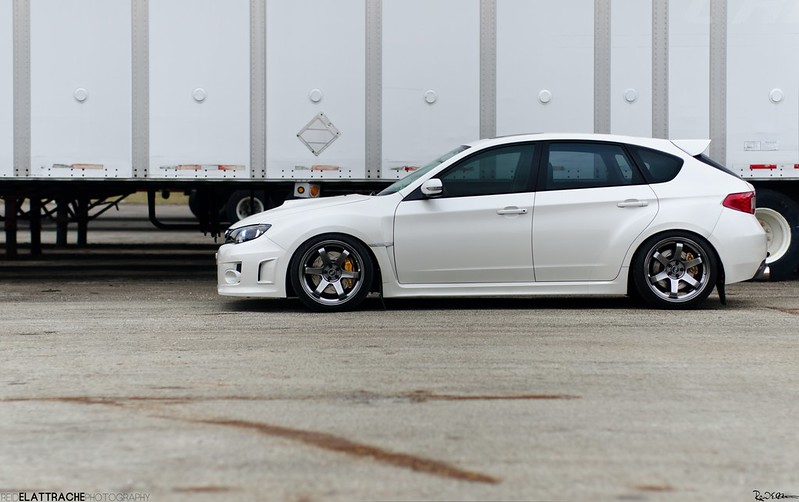
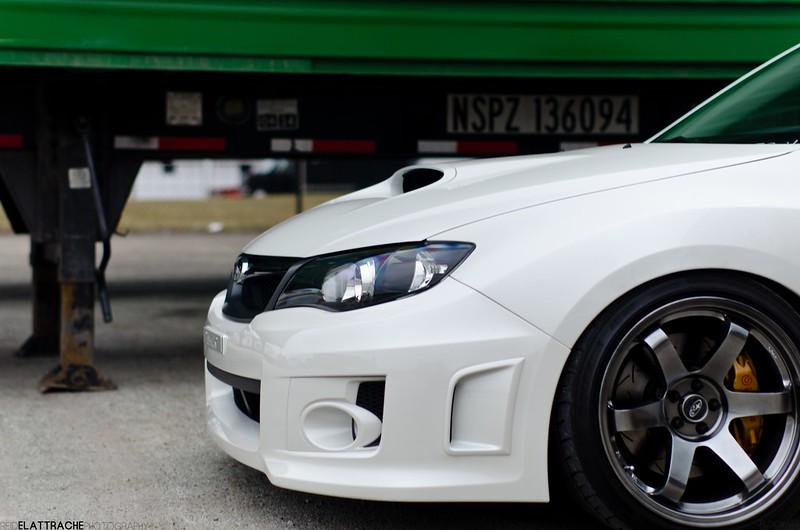
Great info
http://forums.nasioc.com/forums/showthread.php?t=2711647 - source NASIOC
Table of contents:
-Info (this post)
-Reconditioning: Snapped Mounting Bolt Extraction
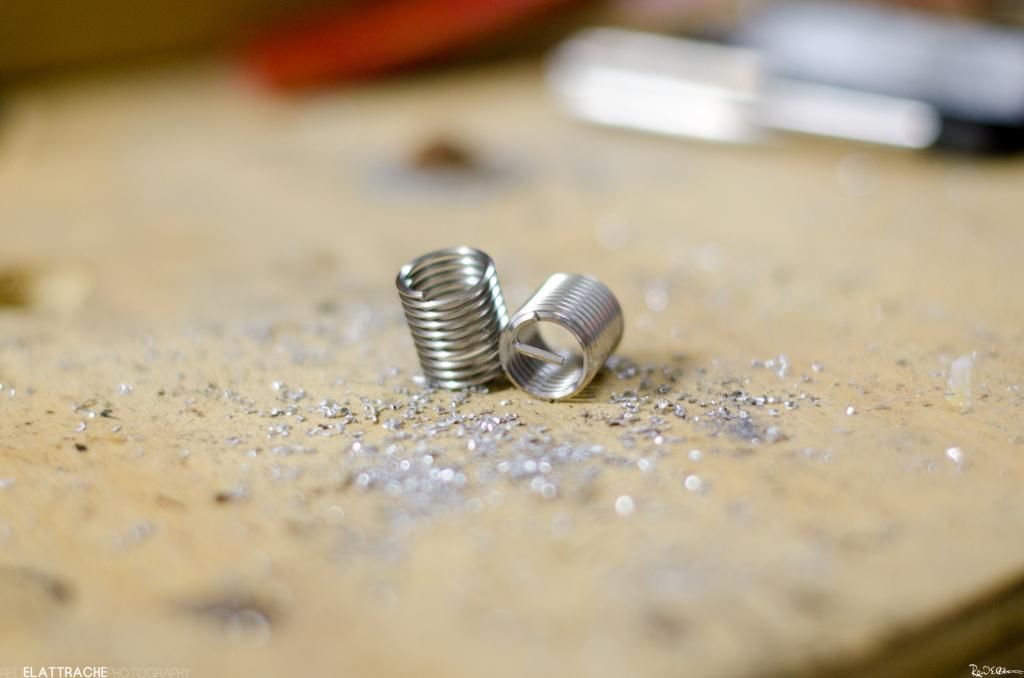
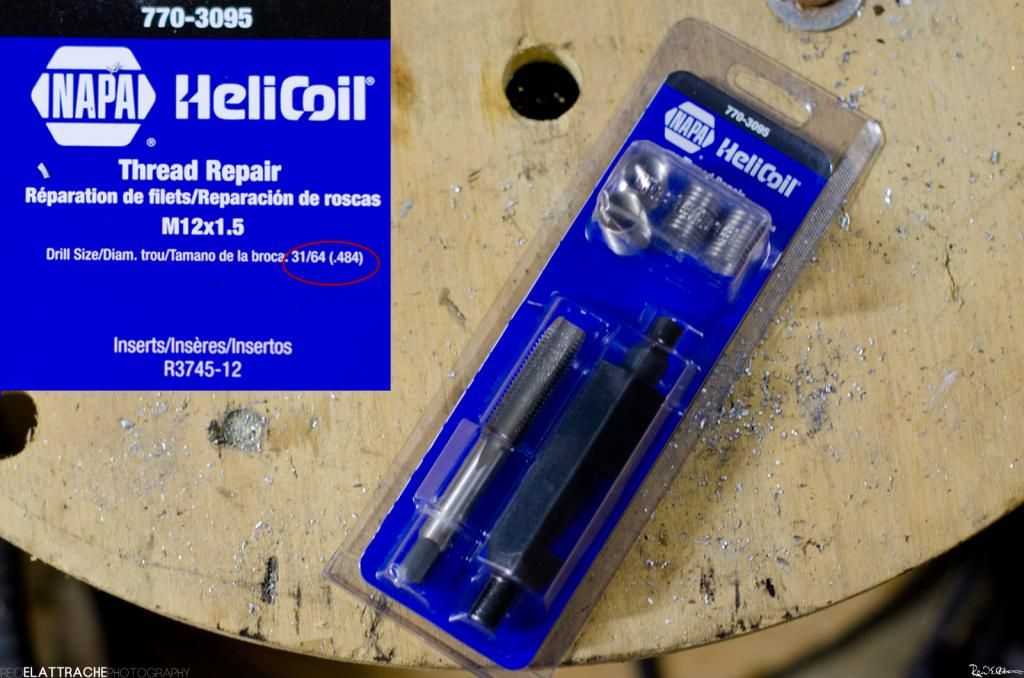
-Reconditioning: Helicoil Install
-DBA Rotor Pics
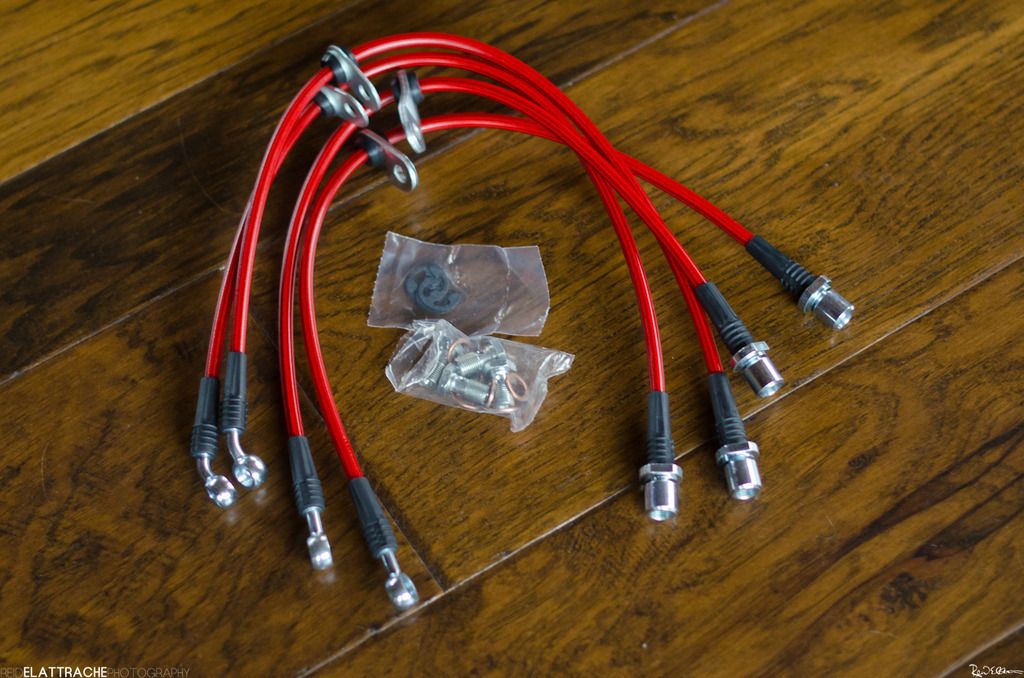
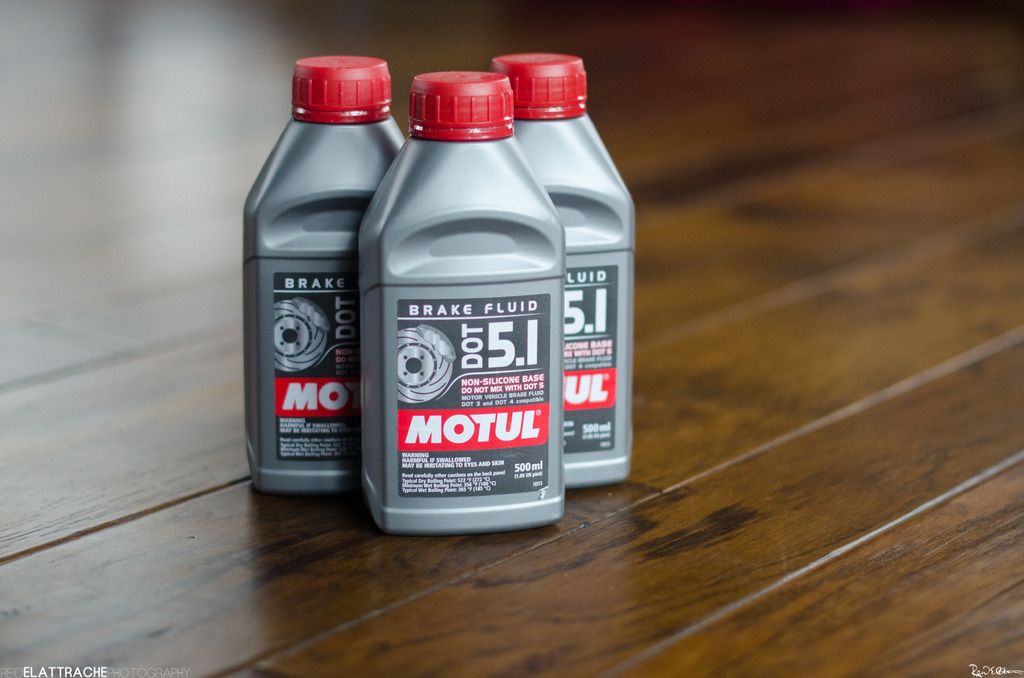
-MachV Rear Adapter, Braided SS Line, Motul Fluid, Mounting Bolt Pics
-Install Day
-After Pics
Full Build Here: http://forums.nasioc.com/forums/show....php?t=2665770
---------------------------------------------------------------------------------------------------------------------------------
Info: STI Brembos
Some good info/Sources:
KNS Brakes - Brembo Fitment Guide for all years <--- so helpful!
Brake Supersticky: brake upgrade FAQ, tech in, Brembo info, and other upgrades
The STi Brembo Brake FAQ - including "will STi Brembos fit on [x]?"
Here is the summed up version. This post is very GR heavy but some info pertains to other years too.
Caliper Info:
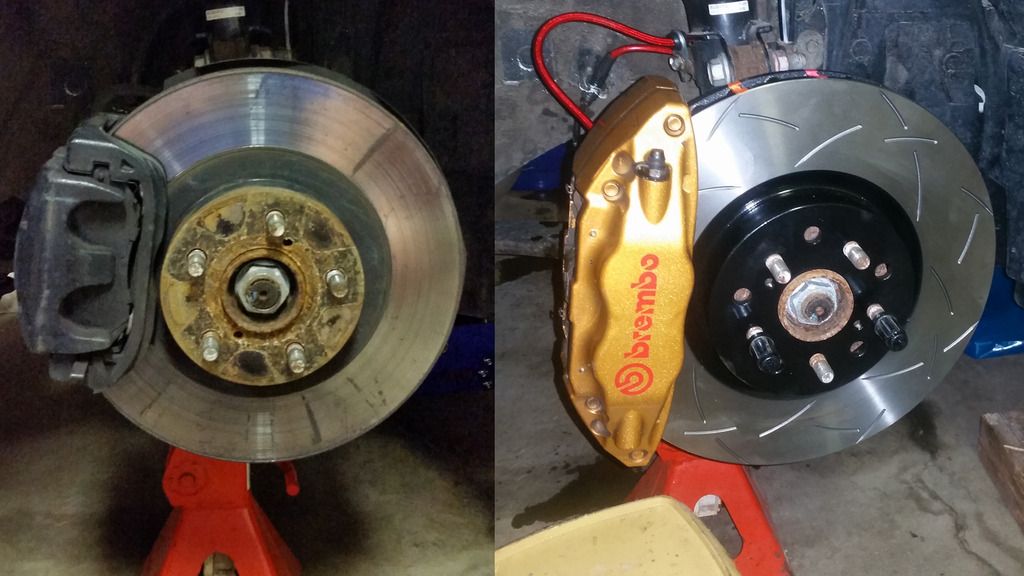
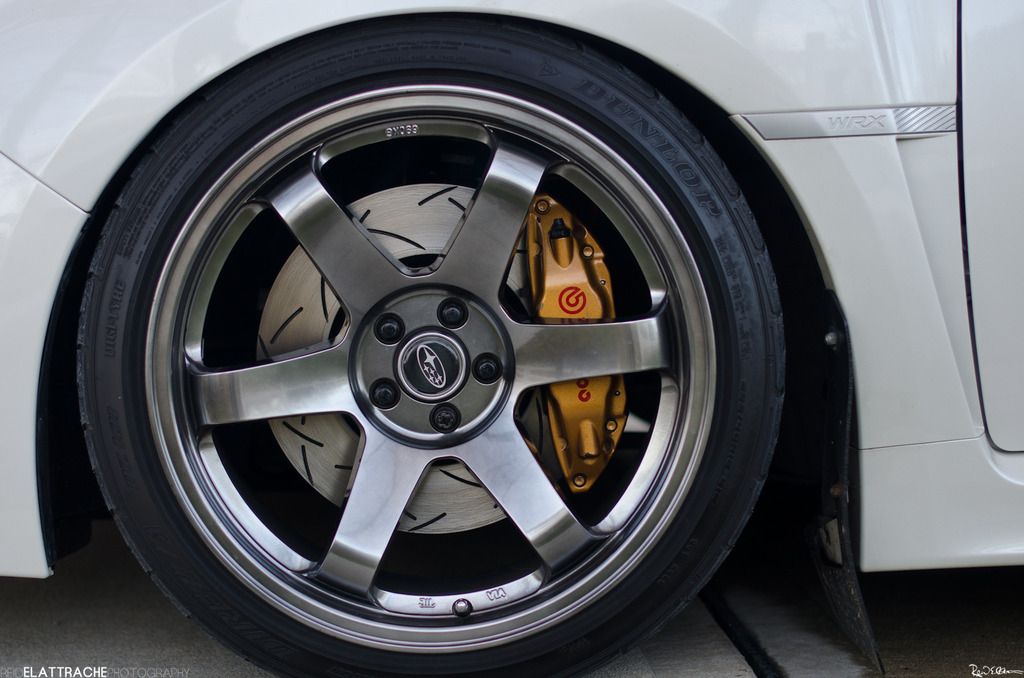
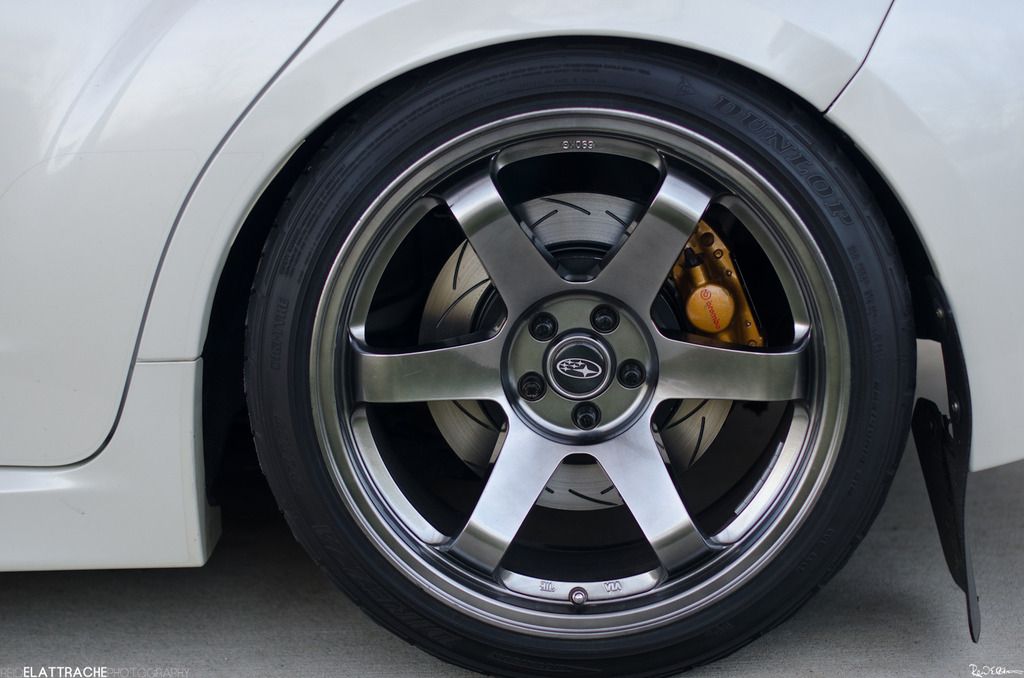
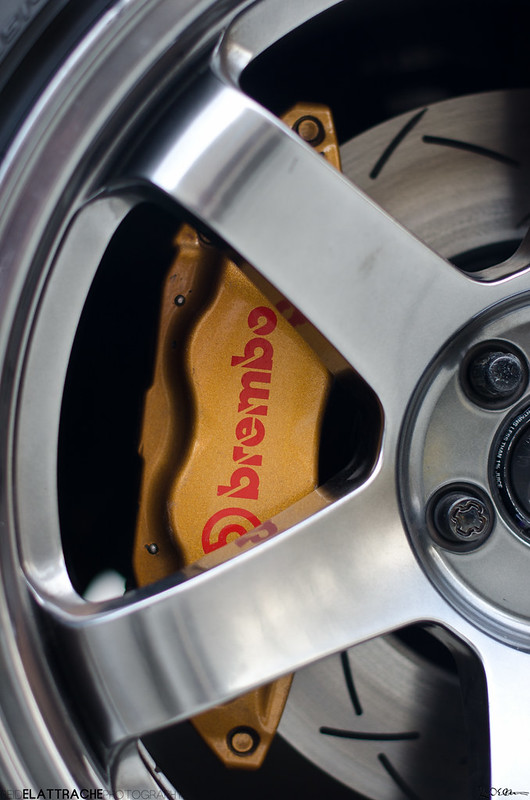
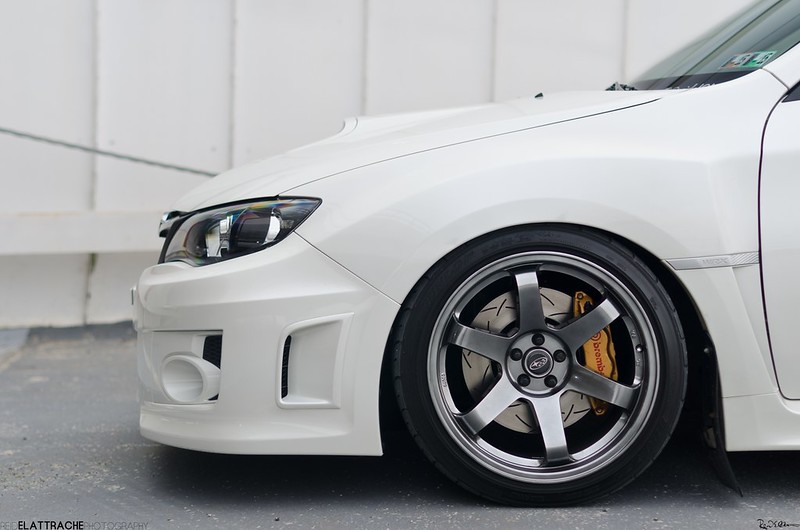
-Brembos came on all years US STI (04-14). Metallic gold with a red Brembo logo from 04-07 and gloss black with an STI logo from 08-14.
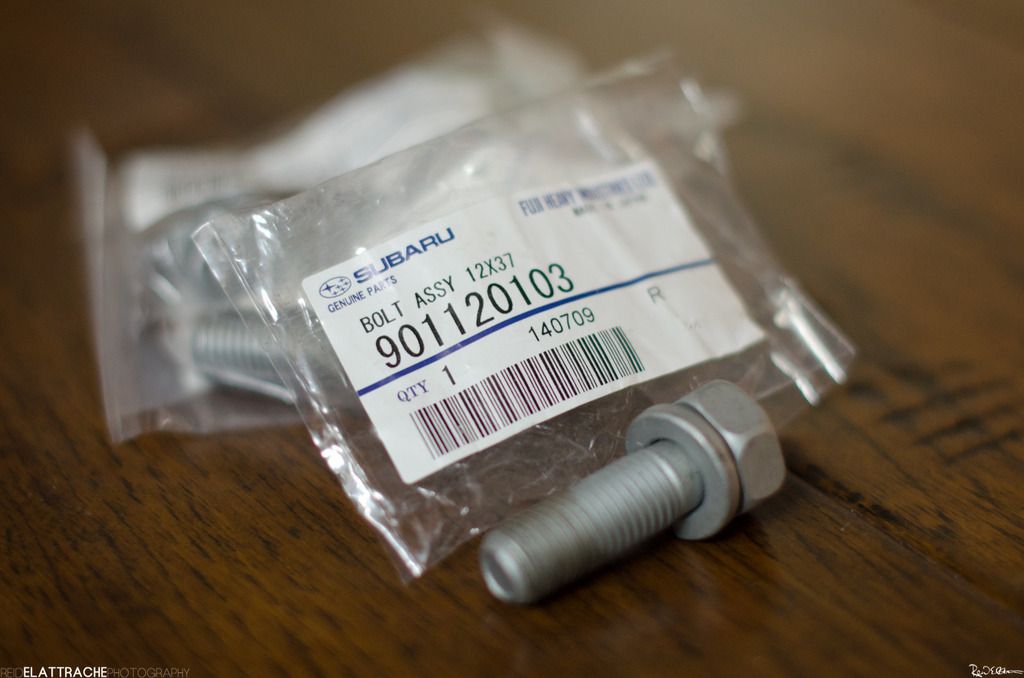
-The front calipers are the same fitment from all years (04-14). Bolt on to any WRX. You WILL need new mounting bolts (Subaru Part #901120103, thanks Overland!)
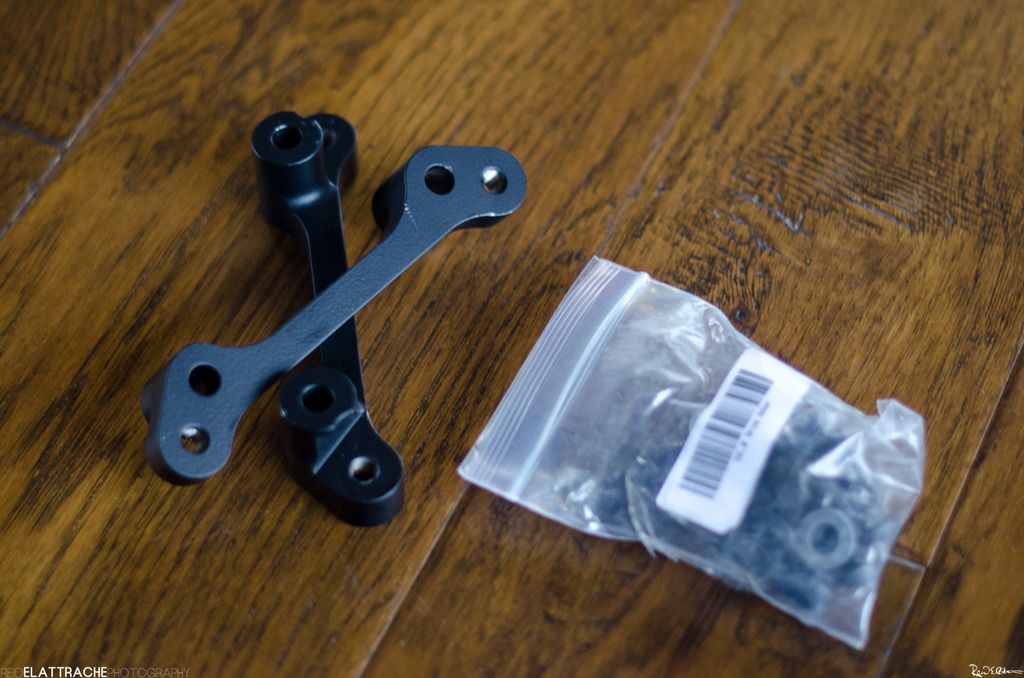
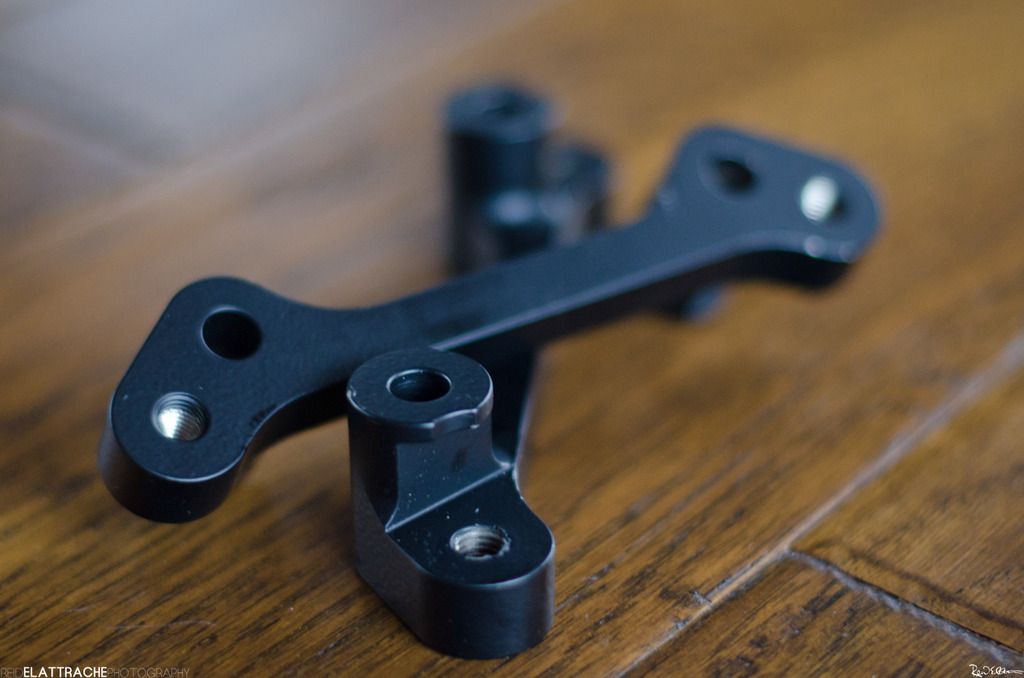
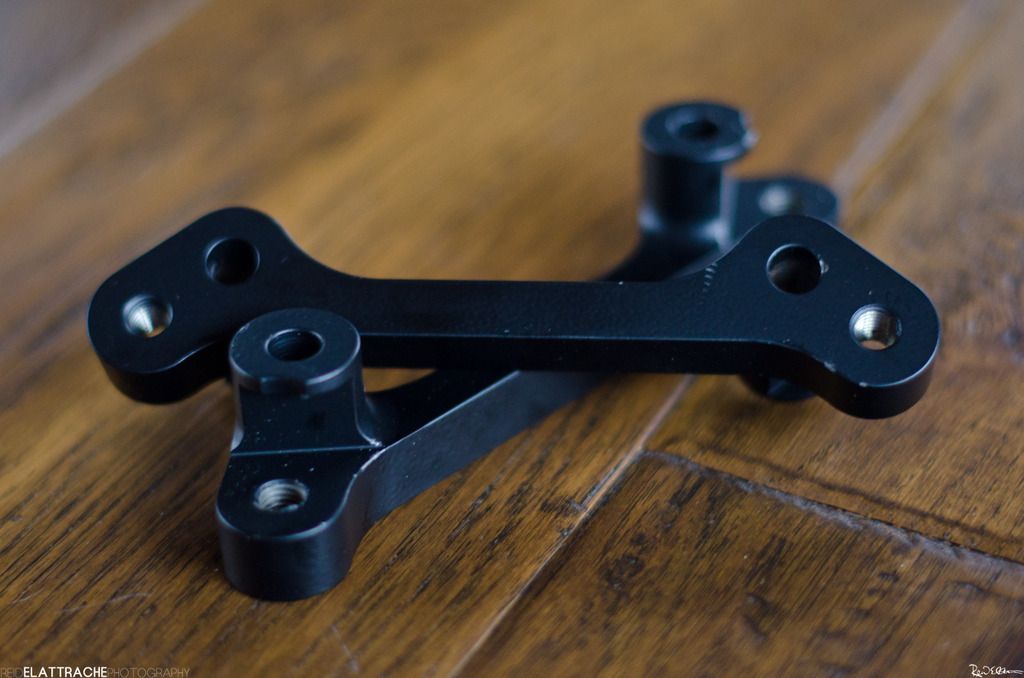
-The rear calipers are different. 08-14 WRXs can bolt on 08-14 STI rears. All gold rears need adapters for all year WRX. Comes with mounting bolts.
Bracket Adapter links here (years are for the WRX, NOT the STI Brembo):
MachV (02-07 WRX) and MachV (08-14 WRX)
KNS Brakes (02-07 WRX) and KNS Brakes (08-14 WRX)
KNS Brakes' adapters require slight grinding of the rear hub to fit. MachV makes no claim that their adapters need grinding. I believe this is why MachV's adapter comes with groves to allow for clearance of the WRX hub. Even so, I still needed to grind to get the holes to line up properly.
EDIT: Looks like KNS is the bracket supplier for MachV Motorsports. Both will need slight grinding to install.
Rotor Info:
-All year STI had 5x114.3, excluding 2004 which had 5x100
-Front rotors for a 2004 STI will be bolt on
-Rear rotors for a 2004 STI can be used on an 08+ WRX if you install an oversized ebrake shoe
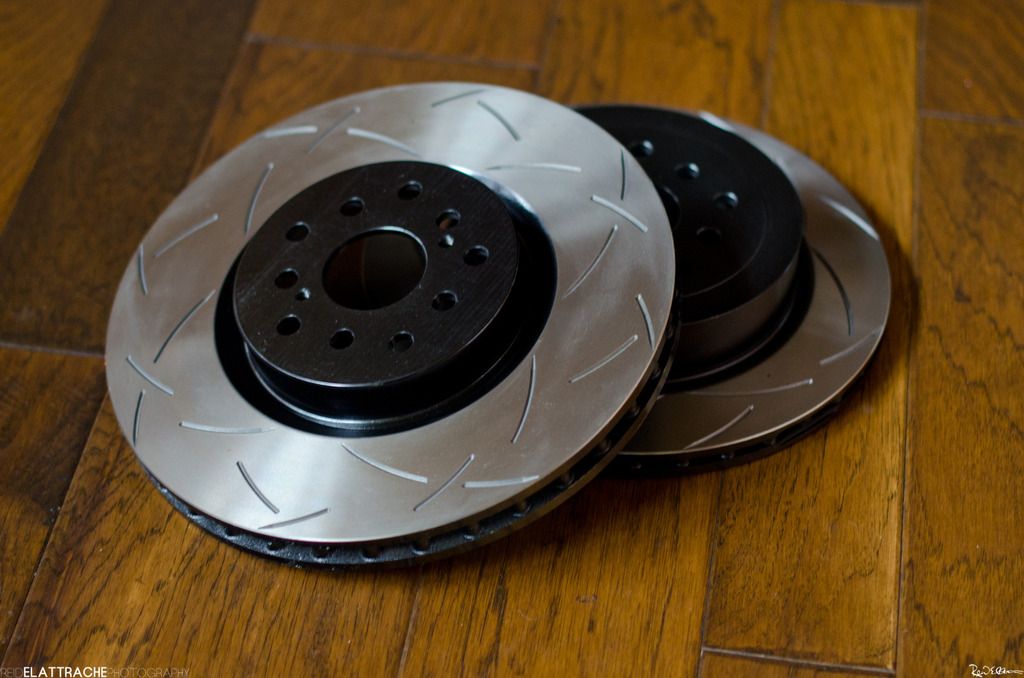
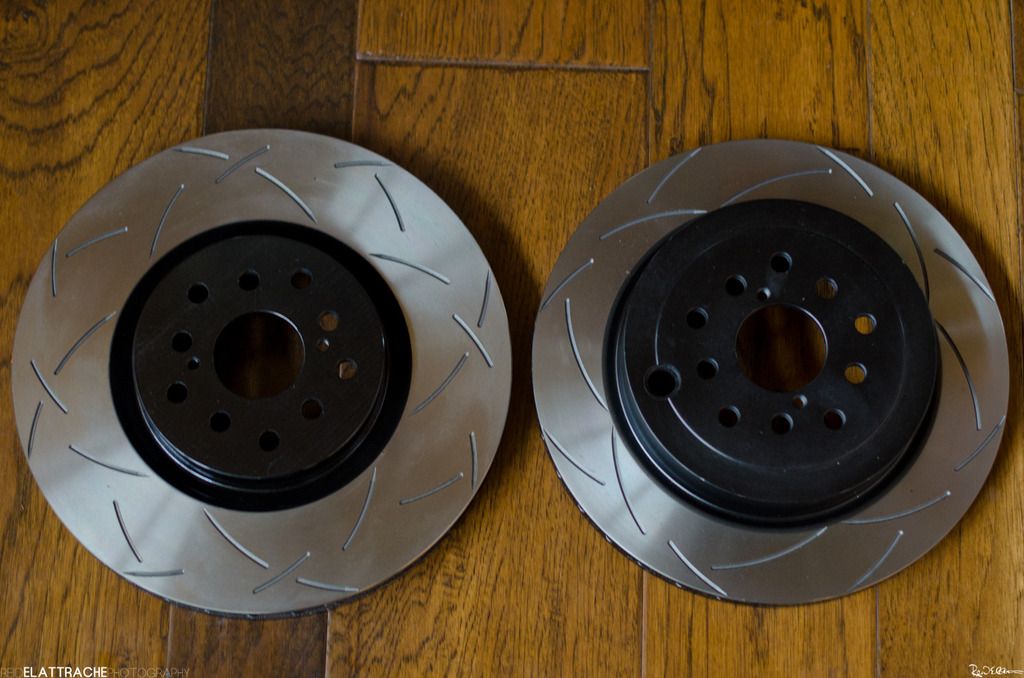
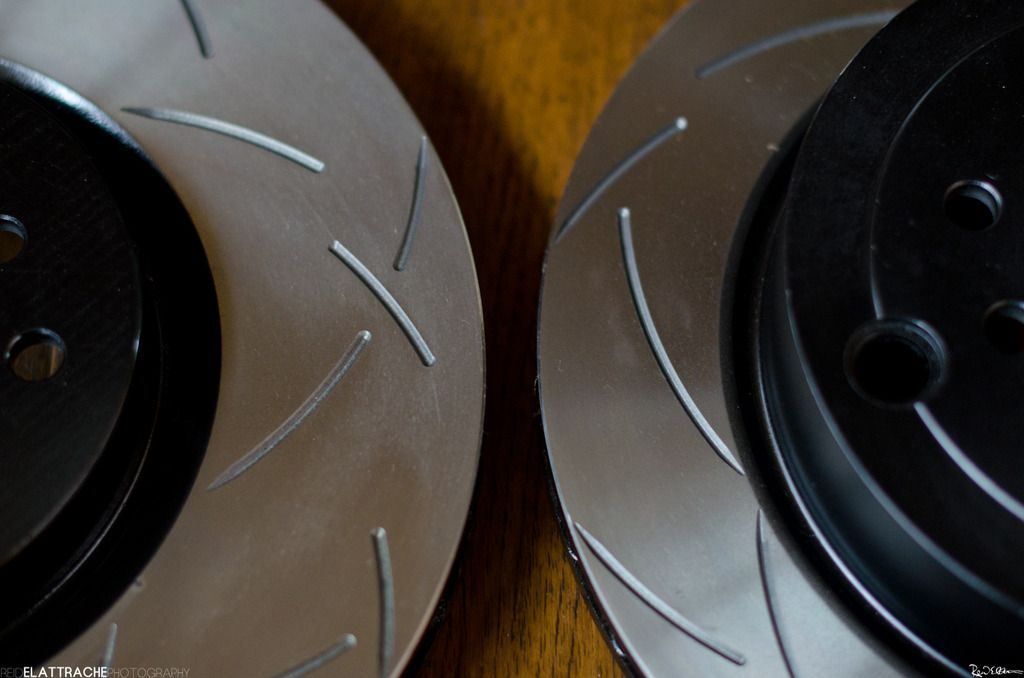
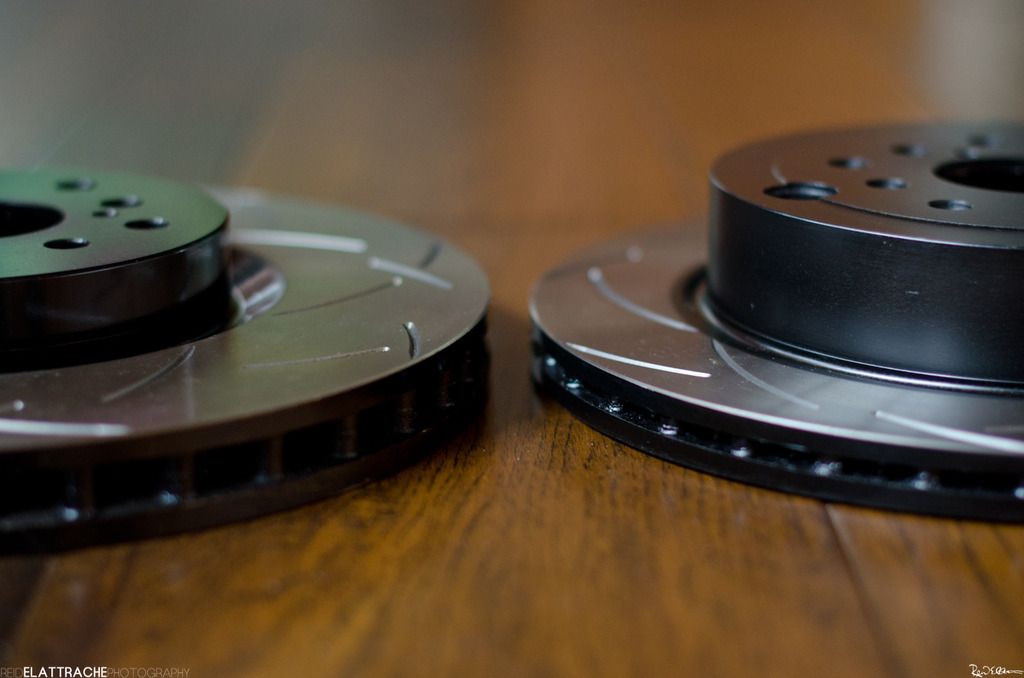
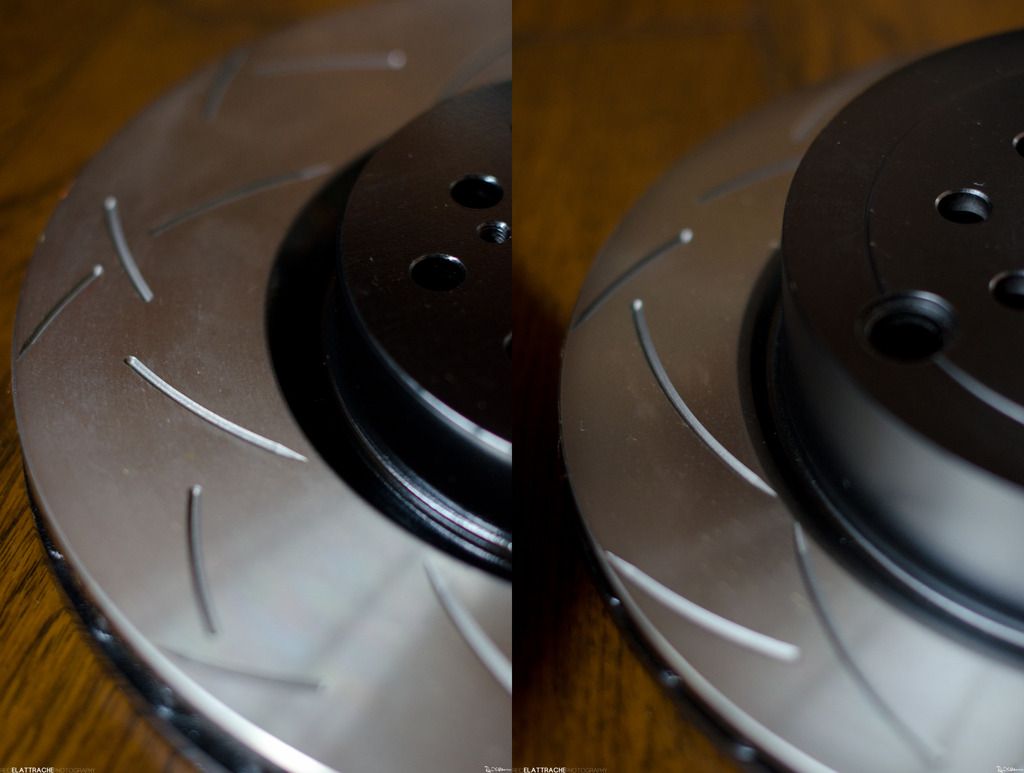
-Best route, 08+ STI dual drilled rear rotors. You can buy 08+ STI rotors and redrill or buy these from MachV (Centric Blanks or DBA 4000s)
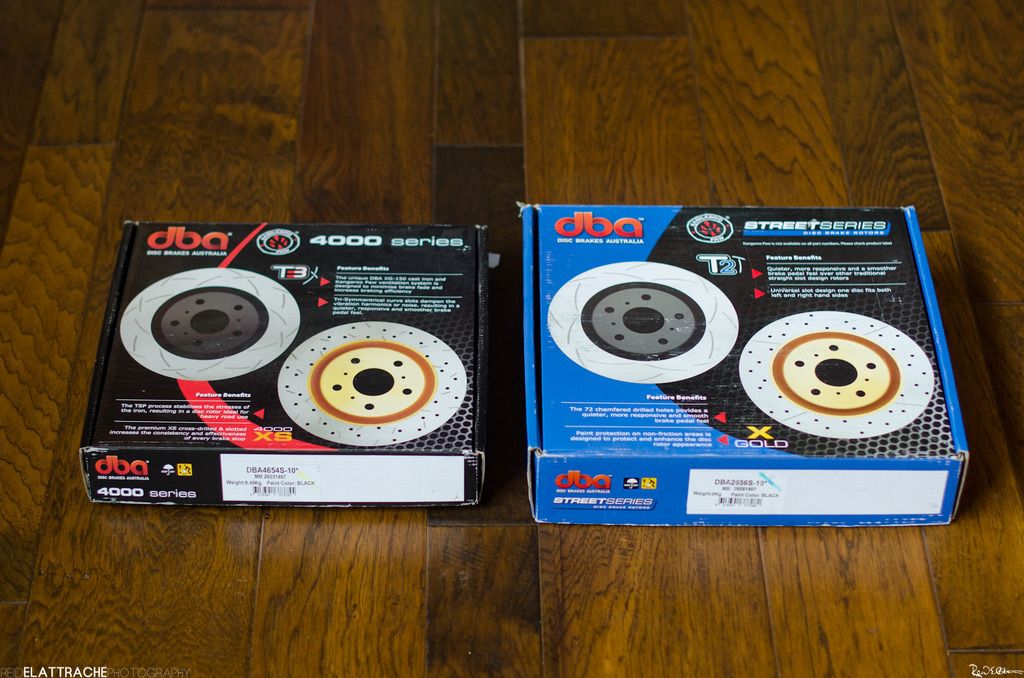
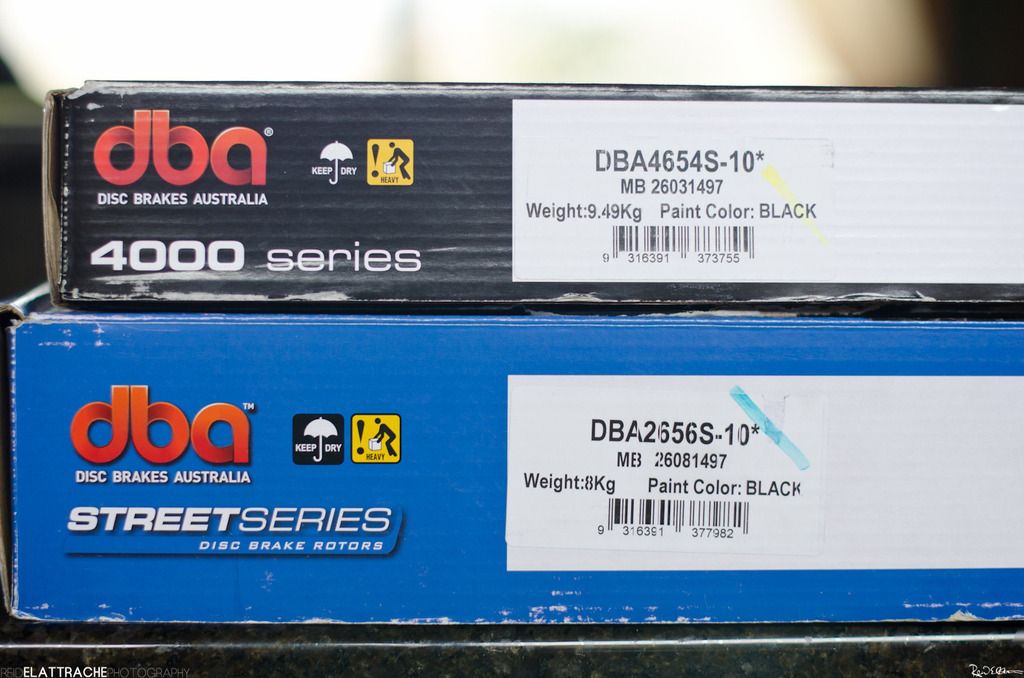
Tip: You can avoid over paying for "adapter rotors" by knowing the part number of what you are buying. For example, I learned that DBA rotors come from the factory dual drilled if you buy the rotor with the "-10" in the part number. After finding this out I sourced my own rotors for much less.
Example:
DBA T3 4000 Series Front Rotors Part #: DBA4654S-10
DBA T2 Street Series Rear Rotors Part #: DBA2656S-10
Brake Line Info:
-You will need new lines to fit the Brembos. Get STI fitment for your year WRX.
Clearing Wheels:
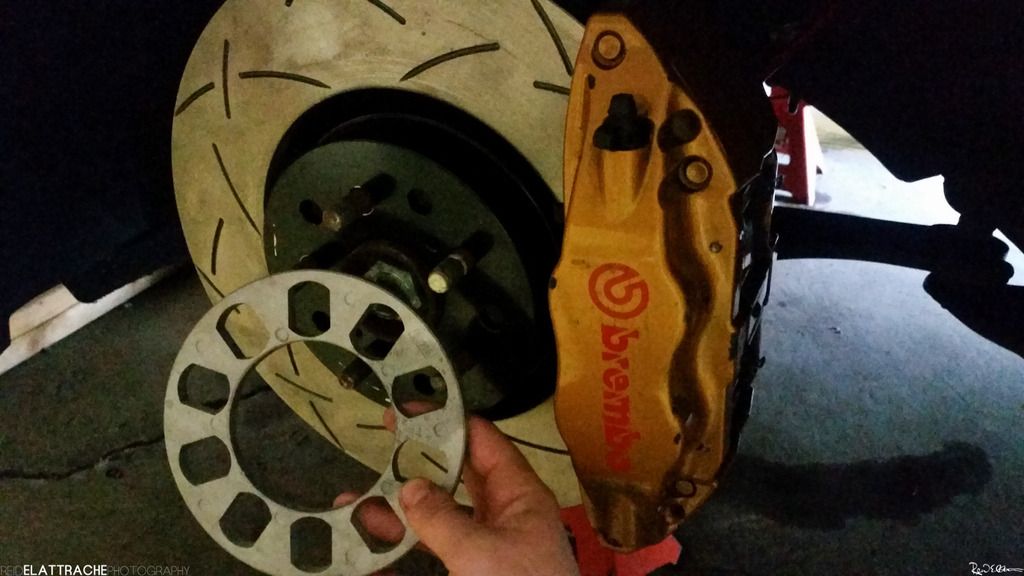
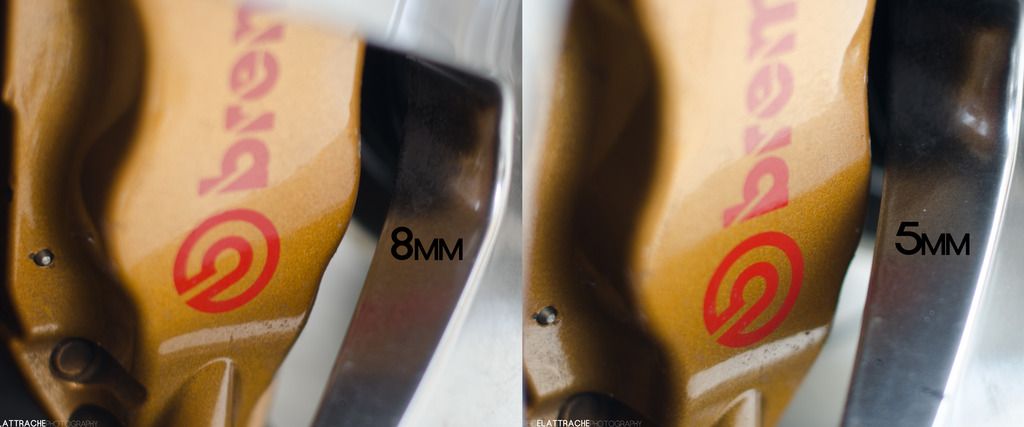
-It is confirmed you WILL need spacers on the front OEM 08-14 WRX wheels (3mm)
-It is confirmed here that 5mm is the minimum spacer to clear STI Brembos with Rota Grid 18x9.5" +38 wheels
-It is confirmed that Rota SVNR 18x10" +30 clear STI Brembos with no spacer (not sure why the EVO guys complan about these wheels lol)
Reconditioning: STI Brembo Thread Fix - Bolt Extraction
Touch Up Paint: MachV Paint
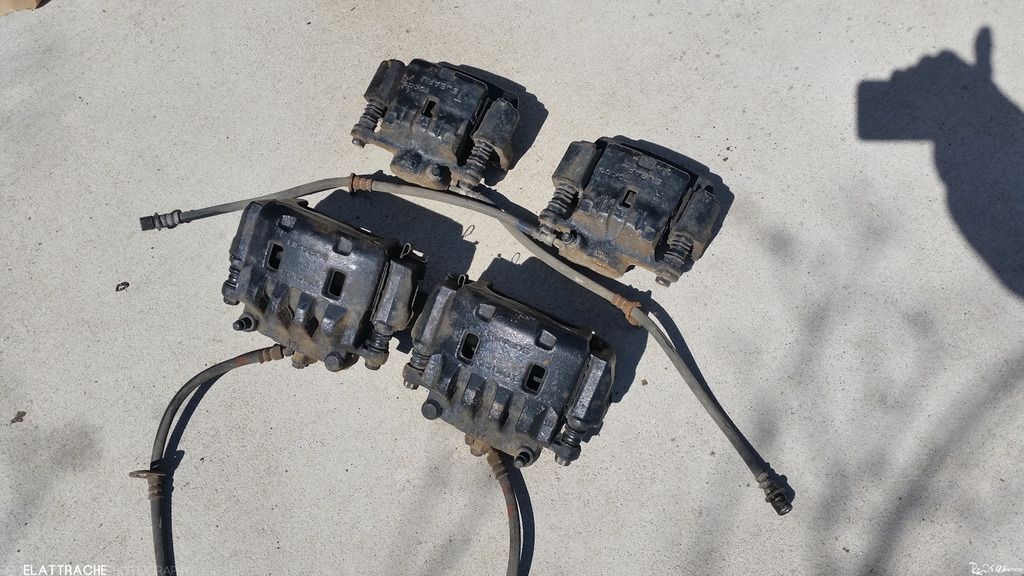
I found a set of Brembos on our classified section with good paint and decent pads. Took the plunge. Once they arrived, I began to clean and inspect. I used simple green and several toothbrushes. Took the pads off, cleaned the pins and clips, then separated everything into zip lock bags. The calipers were then inspected.
The ad said they were in full working order, which was half the story. One side (1 front and 1 rear) were near perfect, paint and threads. So those 2calipers got polished and touched up. Also cleaned the threads out a bit.
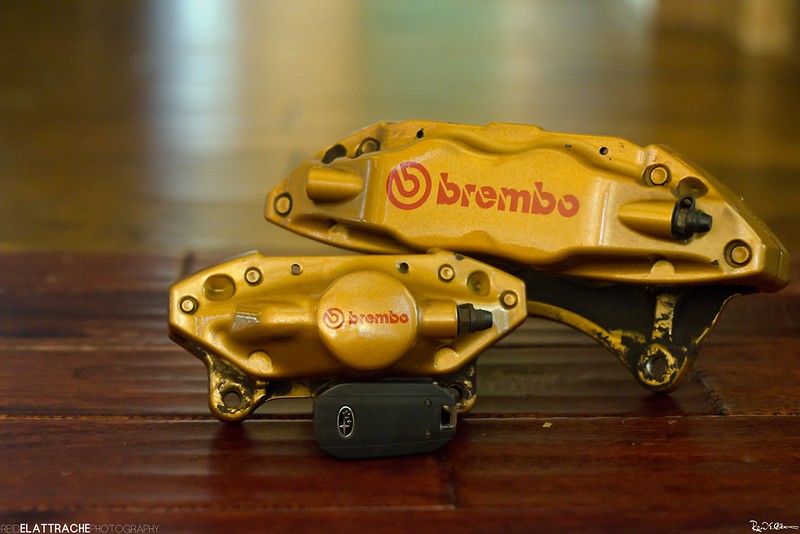
The problem is now with the other side. They were polished to see condition, but before they can be touched up, I need to fix the threads...
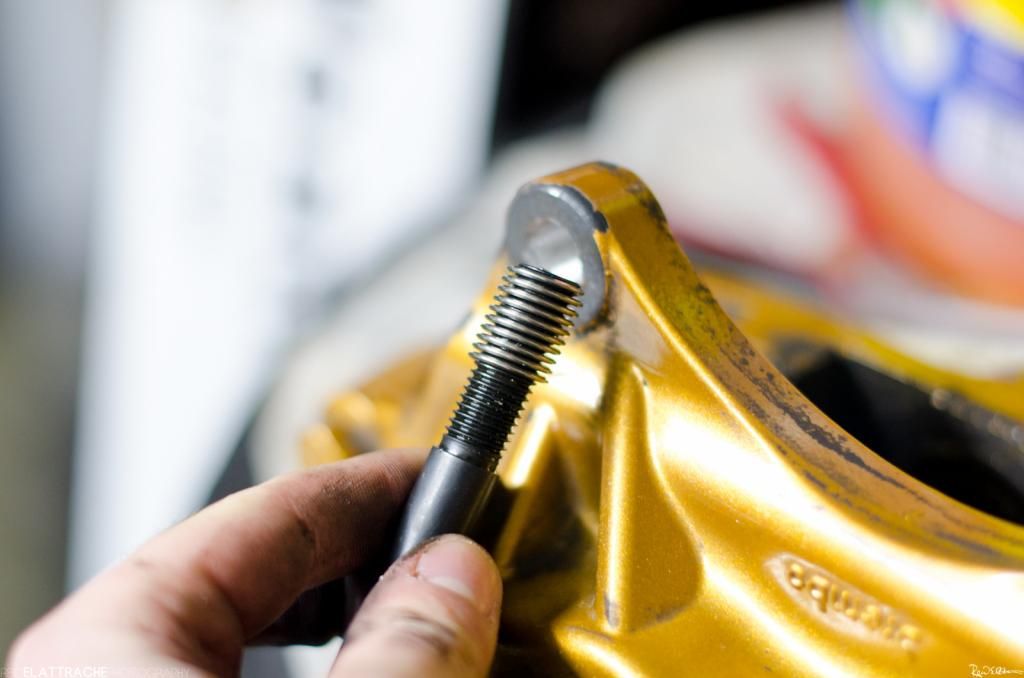
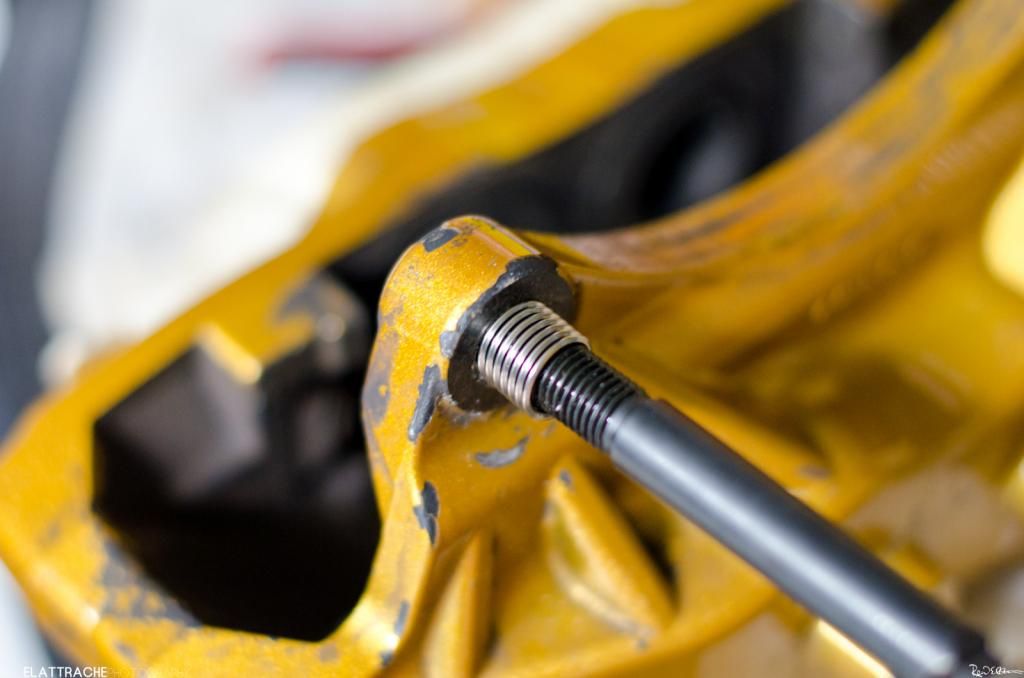
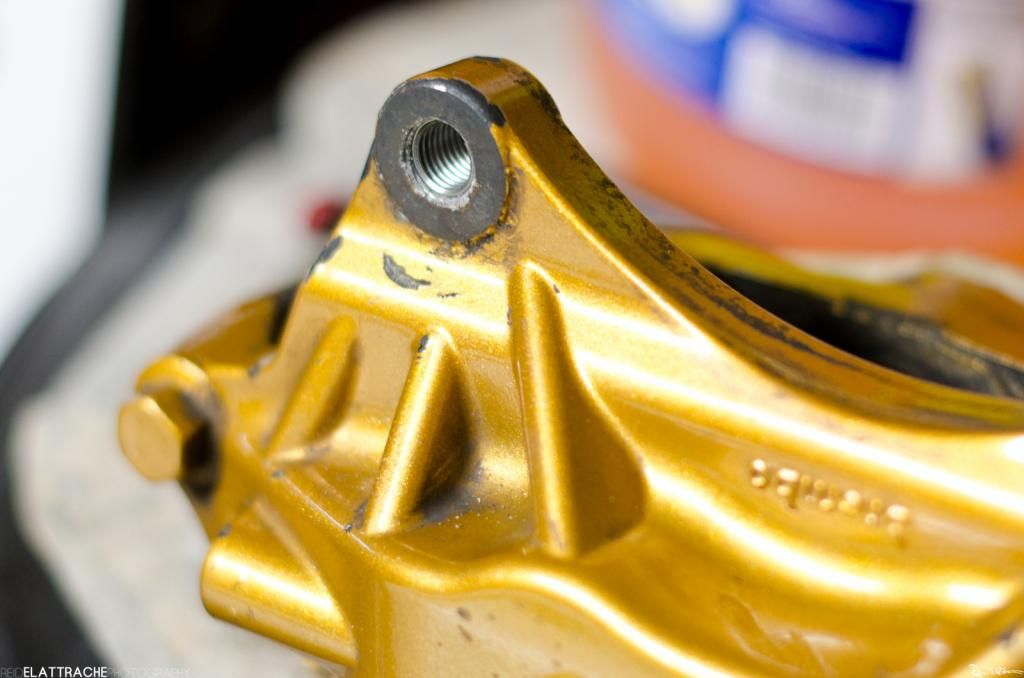
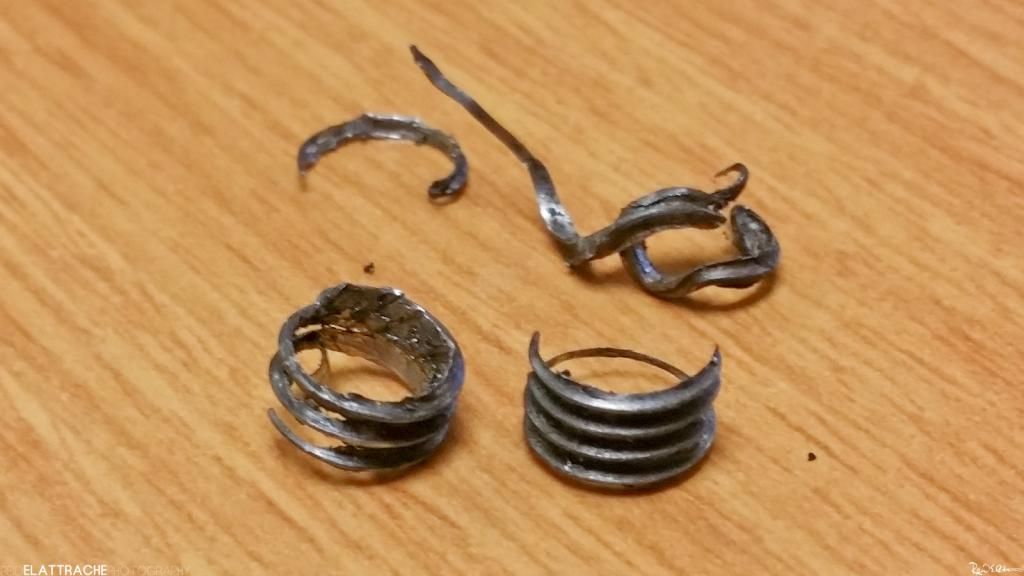
Since the caliper is aluminum and the mounting bolts are steel, they are subject to galvanic corrosion which exists when 2 different metal come into contact. These metals have different electrode potentials and over time electrolytes from one become deposited on the other. This forms a super strong bond when paired with many heat cycles. Very often when Brembos are removed, the threads are now taken out still attached to the bolt or the bolt snaps completely. Depends how strong the bond was. On one of the rear calipers, both bolts snapped. On one of the front, both thread where stripped out.
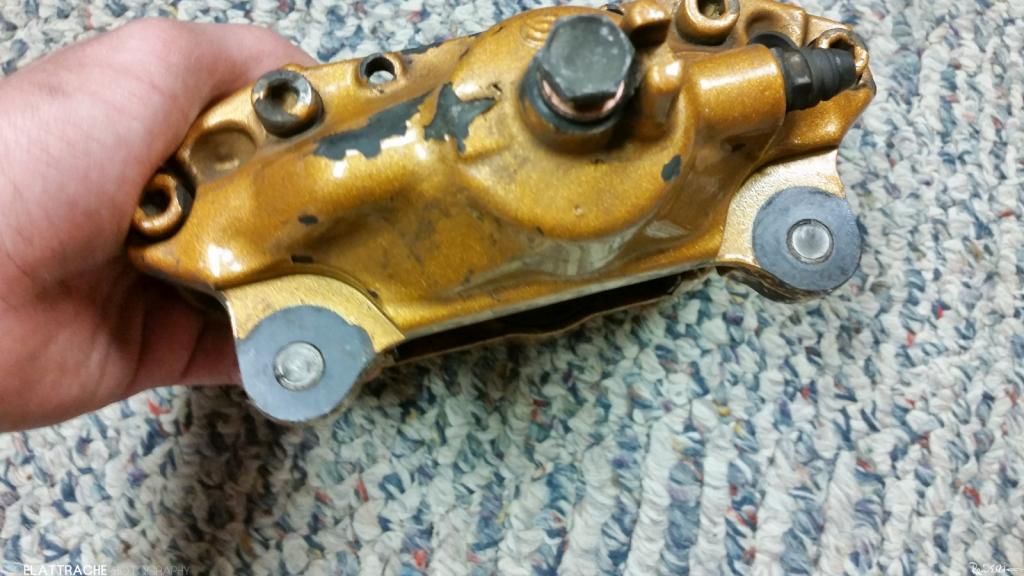
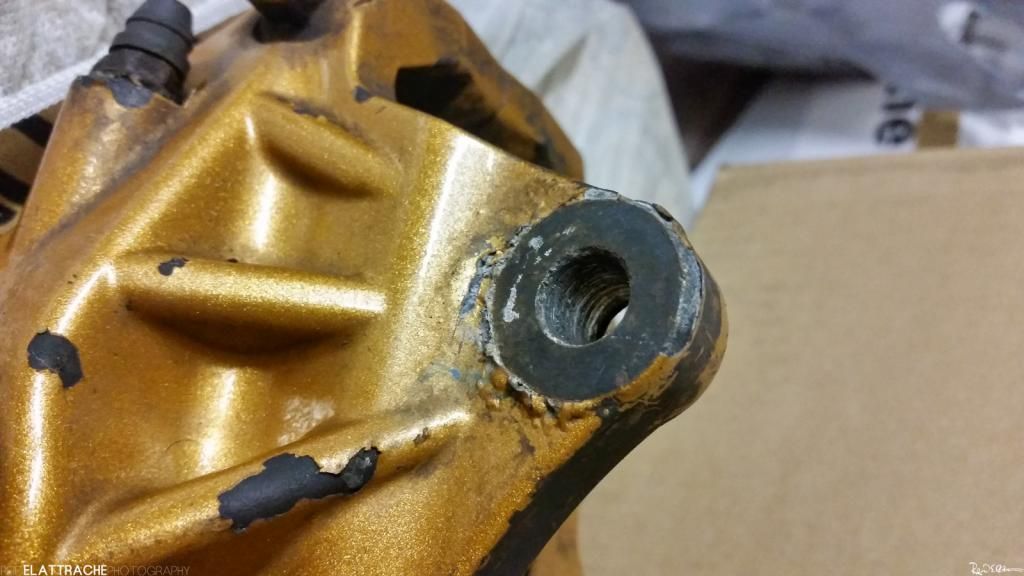
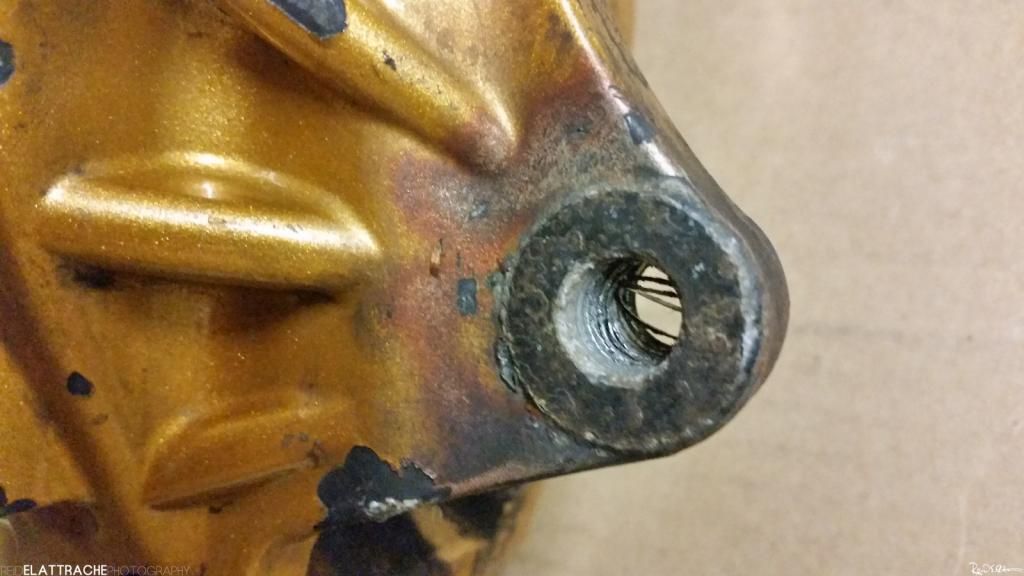
To deal with the best of a bad situation, I chose to first attempt to extract the bolts out of the holes. Knowing that only goes well sometimes, I was prepared to drill them out completely.
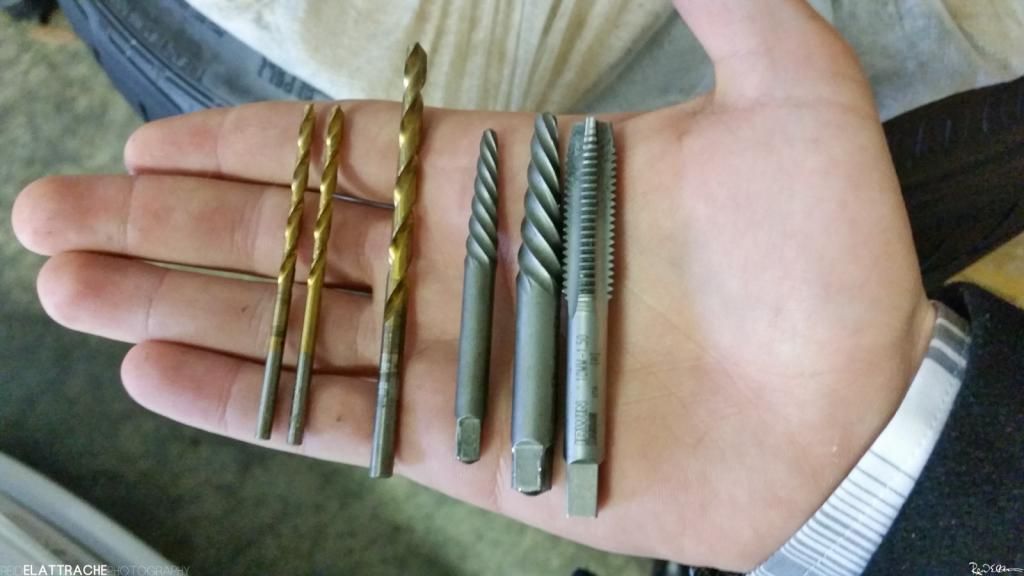
Example tools of choice:
-Titanium Drill Bits (you will NEED titanium)
-Extrator Bits
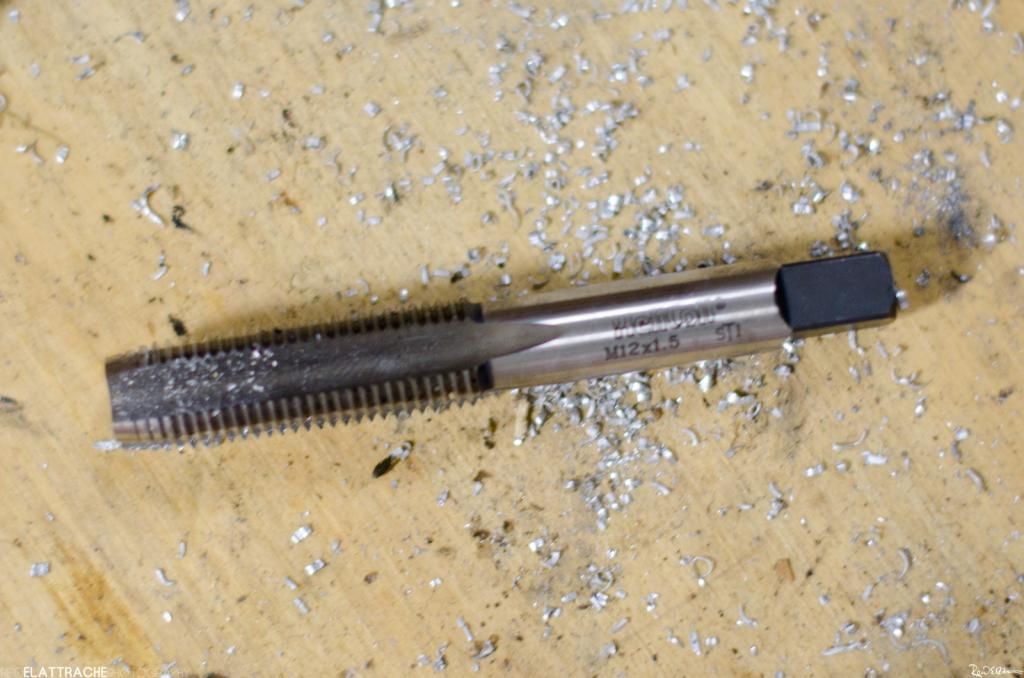
-M10x1.5 Tap (Rear)
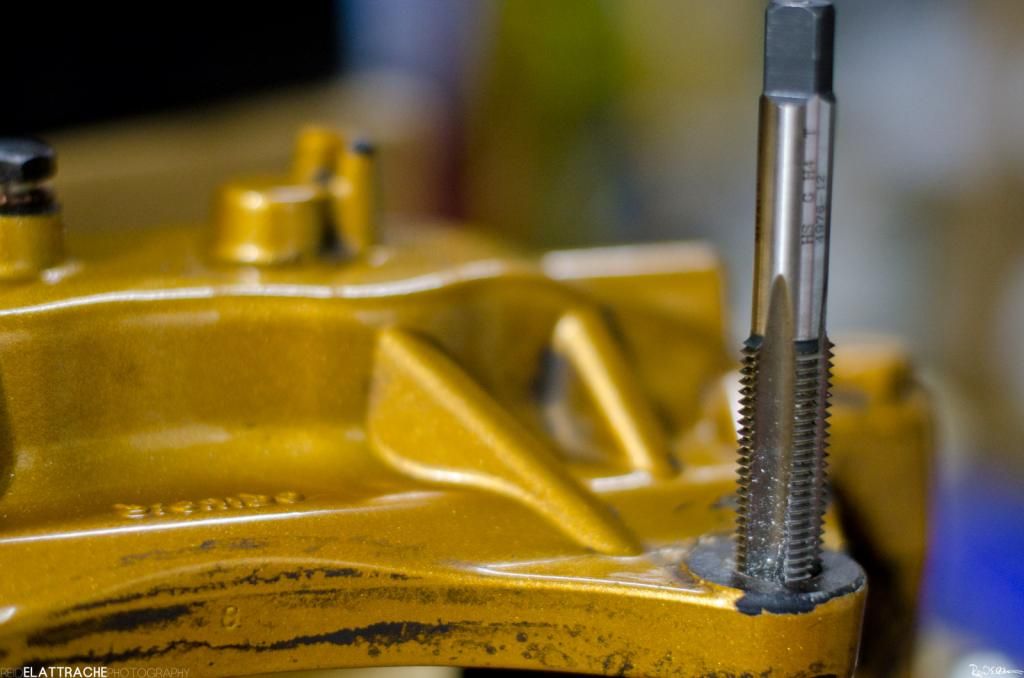
First bolt in the rear came out with some struggle. Thankfully the extractor worked and the threads were intact. Retapped and moved on.
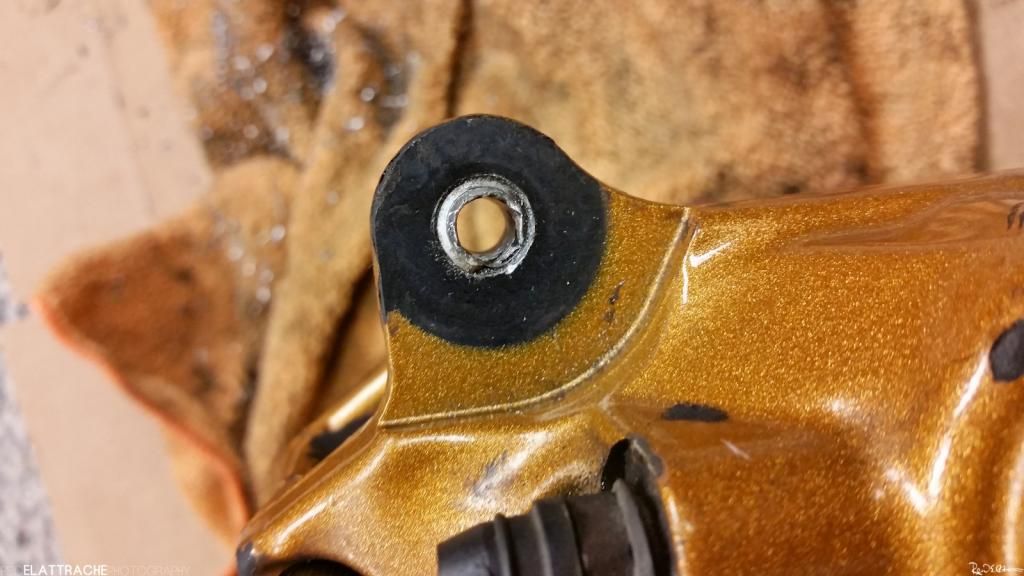
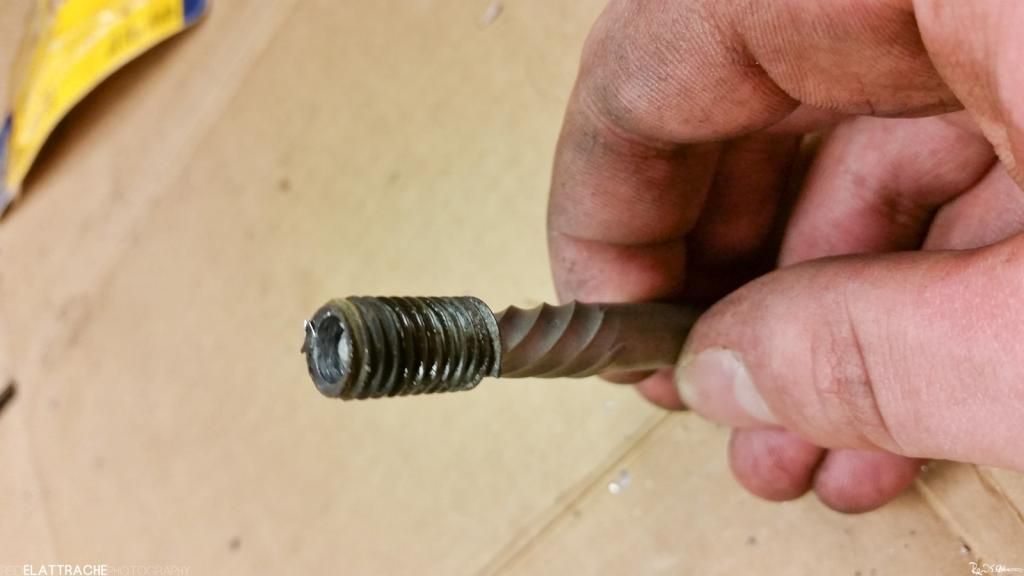
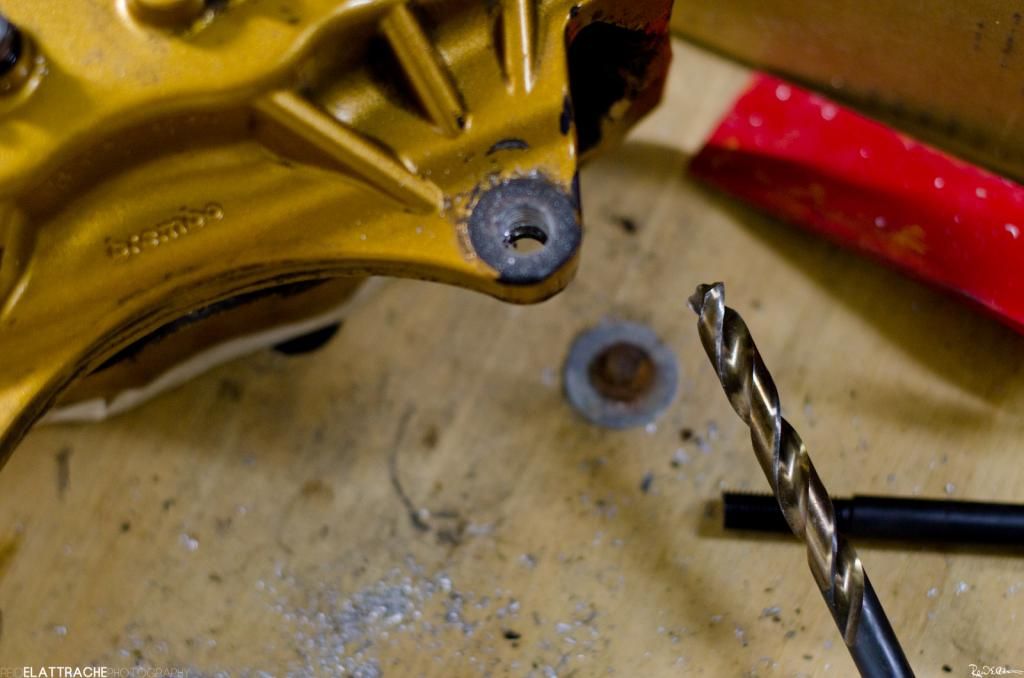
The second hole was a true PITA (which is what I was expecting). Extractor was not working, at one point I had 2 long steel rods used to add more torque on my wrench. Nothing. I then continued to drill the hole larger, one size at a time, then again trying the extractor bits. Nothing.
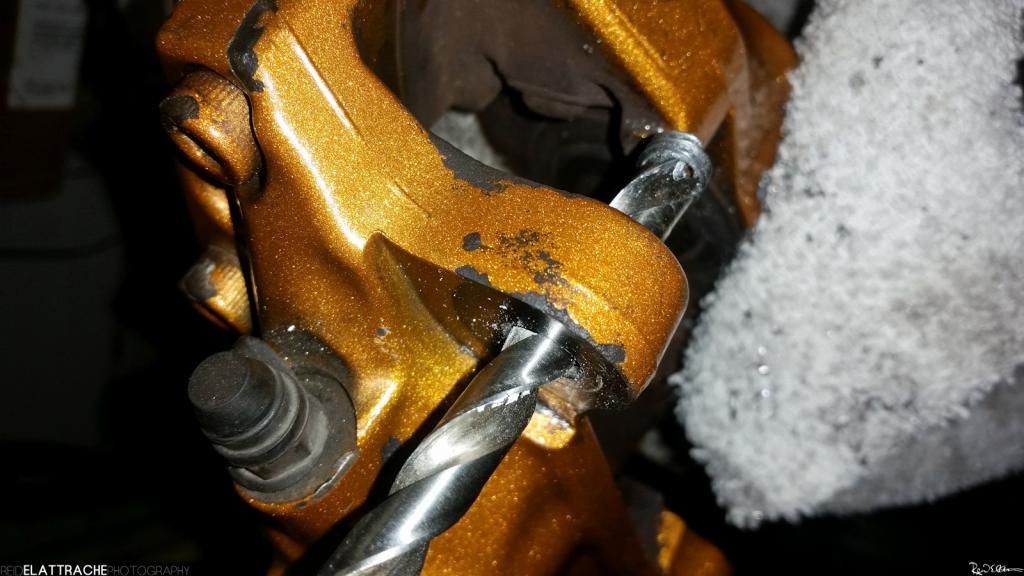
It was time to just go for it and hope for the best. I slowly drilled out the rest of the bolt trying not to hit the threads. Finally the f'er gave up...
http://forums.nasioc.com/forums/showthread.php?t=2711647 - source NASIOC
Table of contents:
-Info (this post)
-Reconditioning: Snapped Mounting Bolt Extraction
-Reconditioning: Helicoil Install
-DBA Rotor Pics
-MachV Rear Adapter, Braided SS Line, Motul Fluid, Mounting Bolt Pics
-Install Day
-After Pics
Full Build Here: http://forums.nasioc.com/forums/show....php?t=2665770
---------------------------------------------------------------------------------------------------------------------------------
Info: STI Brembos
Some good info/Sources:
KNS Brakes - Brembo Fitment Guide for all years <--- so helpful!
Brake Supersticky: brake upgrade FAQ, tech in, Brembo info, and other upgrades
The STi Brembo Brake FAQ - including "will STi Brembos fit on [x]?"
Here is the summed up version. This post is very GR heavy but some info pertains to other years too.
Caliper Info:
-Brembos came on all years US STI (04-14). Metallic gold with a red Brembo logo from 04-07 and gloss black with an STI logo from 08-14.
-The front calipers are the same fitment from all years (04-14). Bolt on to any WRX. You WILL need new mounting bolts (Subaru Part #901120103, thanks Overland!)
-The rear calipers are different. 08-14 WRXs can bolt on 08-14 STI rears. All gold rears need adapters for all year WRX. Comes with mounting bolts.
Bracket Adapter links here (years are for the WRX, NOT the STI Brembo):
MachV (02-07 WRX) and MachV (08-14 WRX)
KNS Brakes (02-07 WRX) and KNS Brakes (08-14 WRX)
KNS Brakes' adapters require slight grinding of the rear hub to fit. MachV makes no claim that their adapters need grinding. I believe this is why MachV's adapter comes with groves to allow for clearance of the WRX hub. Even so, I still needed to grind to get the holes to line up properly.
EDIT: Looks like KNS is the bracket supplier for MachV Motorsports. Both will need slight grinding to install.
Rotor Info:
-All year STI had 5x114.3, excluding 2004 which had 5x100
-Front rotors for a 2004 STI will be bolt on
-Rear rotors for a 2004 STI can be used on an 08+ WRX if you install an oversized ebrake shoe
-Best route, 08+ STI dual drilled rear rotors. You can buy 08+ STI rotors and redrill or buy these from MachV (Centric Blanks or DBA 4000s)
Tip: You can avoid over paying for "adapter rotors" by knowing the part number of what you are buying. For example, I learned that DBA rotors come from the factory dual drilled if you buy the rotor with the "-10" in the part number. After finding this out I sourced my own rotors for much less.
Example:
DBA T3 4000 Series Front Rotors Part #: DBA4654S-10
DBA T2 Street Series Rear Rotors Part #: DBA2656S-10
Brake Line Info:
-You will need new lines to fit the Brembos. Get STI fitment for your year WRX.
Clearing Wheels:
-It is confirmed you WILL need spacers on the front OEM 08-14 WRX wheels (3mm)
-It is confirmed here that 5mm is the minimum spacer to clear STI Brembos with Rota Grid 18x9.5" +38 wheels
-It is confirmed that Rota SVNR 18x10" +30 clear STI Brembos with no spacer (not sure why the EVO guys complan about these wheels lol)
Reconditioning: STI Brembo Thread Fix - Bolt Extraction
Touch Up Paint: MachV Paint
I found a set of Brembos on our classified section with good paint and decent pads. Took the plunge. Once they arrived, I began to clean and inspect. I used simple green and several toothbrushes. Took the pads off, cleaned the pins and clips, then separated everything into zip lock bags. The calipers were then inspected.
The ad said they were in full working order, which was half the story. One side (1 front and 1 rear) were near perfect, paint and threads. So those 2calipers got polished and touched up. Also cleaned the threads out a bit.

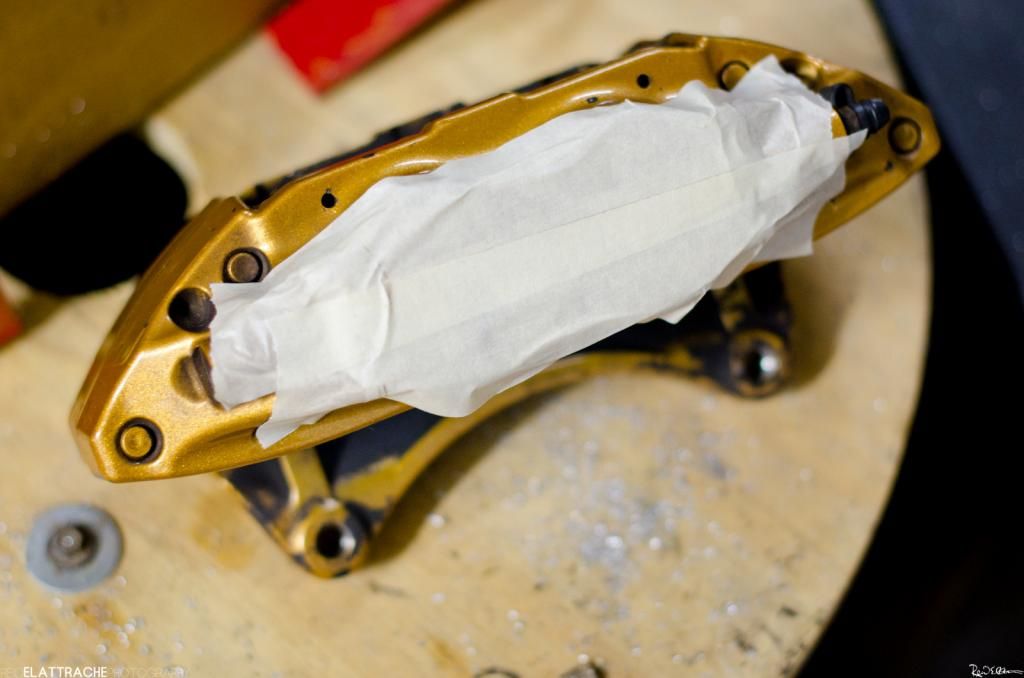
The problem is now with the other side. They were polished to see condition, but before they can be touched up, I need to fix the threads...
Since the caliper is aluminum and the mounting bolts are steel, they are subject to galvanic corrosion which exists when 2 different metal come into contact. These metals have different electrode potentials and over time electrolytes from one become deposited on the other. This forms a super strong bond when paired with many heat cycles. Very often when Brembos are removed, the threads are now taken out still attached to the bolt or the bolt snaps completely. Depends how strong the bond was. On one of the rear calipers, both bolts snapped. On one of the front, both thread where stripped out.
|
| This image has been resized. Click this bar to view the full image. The original image is sized 1024x576. |

| This image has been resized. Click this bar to view the full image. The original image is sized 1024x576. |

| This image has been resized. Click this bar to view the full image. The original image is sized 1024x576. |

To deal with the best of a bad situation, I chose to first attempt to extract the bolts out of the holes. Knowing that only goes well sometimes, I was prepared to drill them out completely.
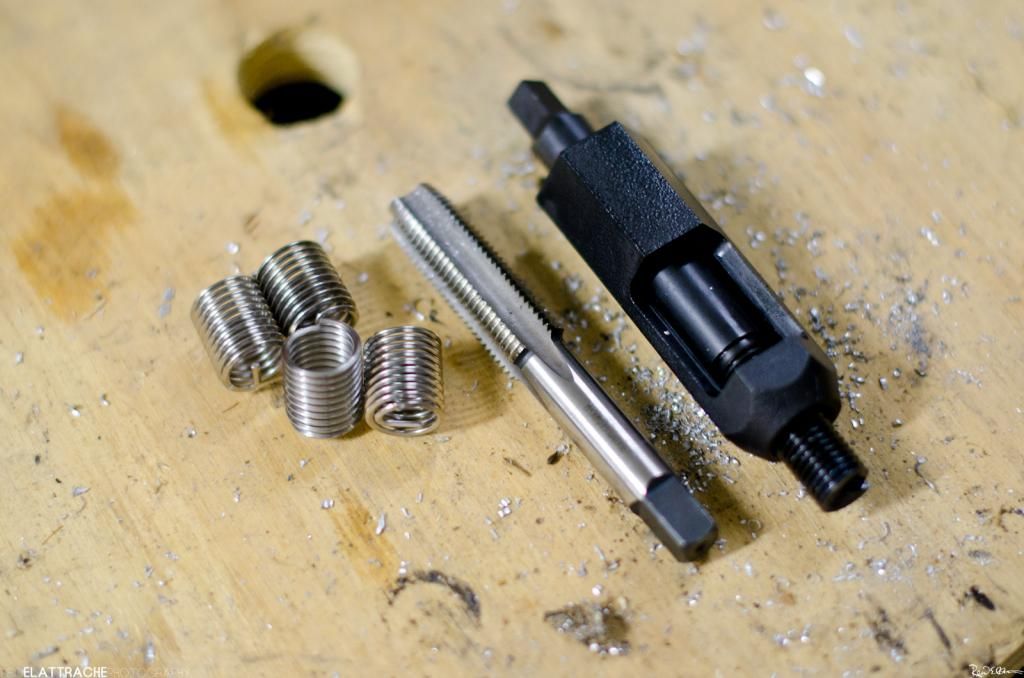
Example tools of choice:
-Titanium Drill Bits (you will NEED titanium)
-Extrator Bits
-M10x1.5 Tap (Rear)
| This image has been resized. Click this bar to view the full image. The original image is sized 1024x576. |

First bolt in the rear came out with some struggle. Thankfully the extractor worked and the threads were intact. Retapped and moved on.
| This image has been resized. Click this bar to view the full image. The original image is sized 1024x576. |

| This image has been resized. Click this bar to view the full image. The original image is sized 1024x576. |

The second hole was a true PITA (which is what I was expecting). Extractor was not working, at one point I had 2 long steel rods used to add more torque on my wrench. Nothing. I then continued to drill the hole larger, one size at a time, then again trying the extractor bits. Nothing.
It was time to just go for it and hope for the best. I slowly drilled out the rest of the bolt trying not to hit the threads. Finally the f'er gave up...
| This image has been resized. Click this bar to view the full image. The original image is sized 1024x576. |

| This image has been resized. Click this bar to view the full image. The original image is sized 1024x576. |

Last edited:

